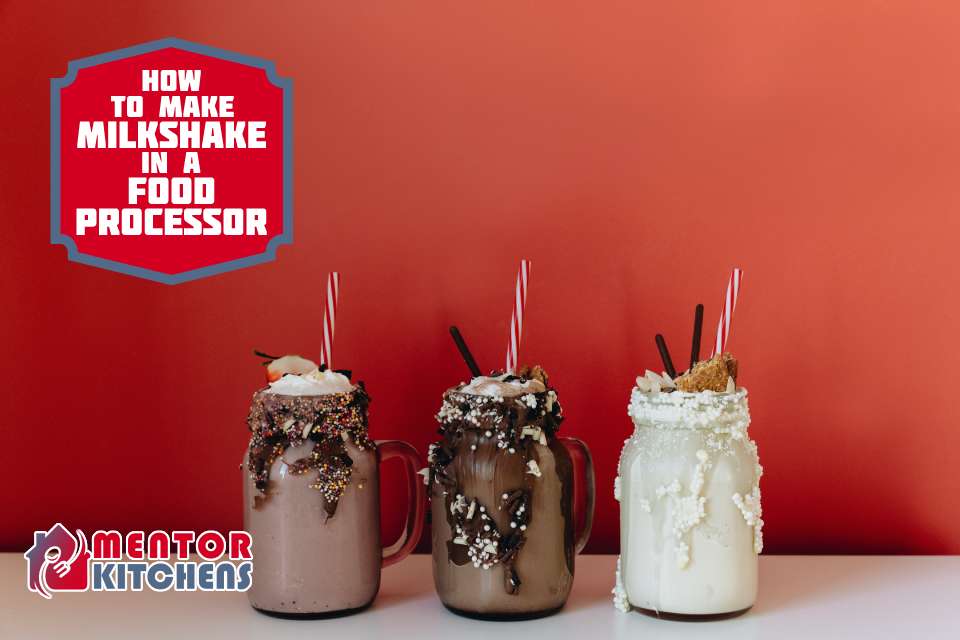
Milkshakes are delicious and refreshing drinks that are made with milk, ice cream, and various flavorings. They are popular among people of all ages, especially on hot summer days.
But did you know that you can make them at home with a food processor?
Yes, you read that right! You don’t need a blender or a hand mixer to whip up a frothy and creamy milkshake. All you need is a food processor, some basic ingredients, and your imagination.
In this article, we’ll show you how to make milkshakes in a food processor, what are the benefits of using this method, and some tips and tricks for making the best milkshakes ever. Let’s get started!
Can You Make Milkshakes in a Food Processor?
Yes, you can make milkshakes in a food processor. However, there are both advantages and disadvantages to using this appliance.
Advantages of Using a Food Processor
- It can blend and mix ingredients quickly, which can save time.
- It can easily handle larger quantities of ingredients, making it ideal for making milkshakes for a crowd.
- It is easy to clean, especially if it has dishwasher-safe parts.
Disadvantages of Using a Food Processor
- The blades of a food processor can be too sharp for making milkshakes, which can result in over-processed or even curdled milk.
- The texture of the milkshake may not be as smooth as when made with a blender or milkshake machine.
- It may not be able to crush ice as effectively as other appliances.
What You Need to Make Milkshakes in a Food Processor
Making milkshakes in a food processor is actually quite simple, and the results are definitely worth it. Here’s what you’ll need:
Ingredients
- Milk: You can use any type of milk you like, but we recommend using whole milk or 2% milk for a creamier texture. You can also use flavored milk, such as chocolate or strawberry, to add some extra taste to your shake.
- Ice Cream: You can use any flavor of ice cream you want, but we suggest using something classic like vanilla or chocolate. You can also mix and match different flavors to create your own unique combinations.
- Flavorings: This is where you can get creative and add some extra zing to your shake. You can use syrups, sauces, jams, peanut butter, or anything else that suits your taste buds. Some examples are caramel sauce, strawberry jam, hot fudge sauce, chocolate syrup, etc.
Equipment
- A Food Processor: A powerful food processor is the key to making smooth and creamy milkshakes. It can blend the ingredients quickly and evenly without thinning out or chunking up your shake. Make sure your food processor has a large enough capacity to hold all of your ingredients.
- A Spatula: A spatula will help you scrape down the sides of the food processor bowl and ensure that everything is well blended. You don’t want to leave any chunks of ice cream or flavorings behind.
- Glasses: You’ll need some glasses to serve your milkshakes in. You can use any type of glass you like, but we recommend using tall and wide ones to fit more shakes and toppings. You can also chill your glasses in the freezer for a few minutes before serving to keep your milkshakes cold longer.
How to Make Milkshakes in a Food Processor
Now that you have everything you need, it’s time to make your milkshakes.
Here’s a step-by-step guide on how to make milkshakes in a food processor:
Step 1: Soften the Ice Cream for 10 Minutes
Before you start blending, you’ll want to soften your ice cream for about 3 minutes at room temperature. This will make it easier to blend and result in a thicker and creamier shake.
If your ice cream is too hard, you’ll have to add more milk, which will thin out your shake.
Step 2: Add the Milk, Ice Cream, and Flavorings to the Food Processor
Next, add your milk, ice cream, and flavorings of choice to the food processor bowl. You can use any measurements you like, but a good rule of thumb is to use one cup of milk and two cups of ice cream for two servings.
You can also adjust the amount of flavorings according to your preference.
Step 3: Blend Until Smooth and Creamy
The next step, it’s time to blend everything together. Use the pulse setting on your food processor until all the ingredients are mixed evenly and the milkshake reaches your desired thickness.
You may need to use a spatula to scrape down the sides of the bowl once or twice to make sure everything gets blended well.
If you feel that your milkshake is too thick, simply add a bit more milk until it reaches the consistency you want. On the other hand, if your milkshake is too thin, add more ice cream to thicken it up.
Step 4: Add Any Mix-ins If Desired and Pulse Briefly
If you want to add some extra texture and crunch to your shake, you can add some mix-ins at this point. These could be anything from cookies to candies to nuts.
Some examples are Oreos, M&M’s, Reese’s Pieces, etc. Simply add them to the food processor and pulse briefly until they’re chopped and distributed throughout the shake. Don’t overmix or you’ll lose the chunkiness.
Step 5: Pour into Glasses and Garnish with Toppings
Finally, pour your shake into your chilled glasses and garnish with toppings of your choice. You can use whipped cream, crushed nuts, sprinkles, cherries, or anything else that makes your shake look and taste amazing. Enjoy!
Here is a Quick Video Tutorial:
Tips and Tricks for Making the Best Milkshakes in a Food Processor
Making milkshakes in a food processor is easy and fun, but there are some tips and tricks that can make them even better. Here are some of them:
- Use full-fat milk and ice cream for a richer texture. Low-fat or non-fat versions will make your shake watery and less satisfying.
- Adjust the amount of milk to get your preferred consistency. Some people like their shakes thick and spoonable, while others like them thin and drinkable.
- You can also vary the consistency depending on the flavor of your shake. For example, a chocolate shake may be better thicker than a vanilla one.
- Experiment with different flavors and combinations. There are endless possibilities when it comes to making milkshakes in a food processor. You can use any flavor of ice cream and milk you want, as well as any flavorings and mix-ins you like.
- You can also create your own unique combinations by mixing different flavors together. For example, you can make a peanut butter banana shake by using vanilla ice cream, banana slices, peanut butter, and chocolate syrup.
- Serve immediately or freeze for later. Milkshakes are best enjoyed right after making them, but if you have any leftovers or want to make them ahead of time, you can freeze them for later.
- Just pour them into freezer-safe containers and store them in the freezer for up to a month. When you’re ready to enjoy them, let them thaw slightly at room temperature or microwave them for a few seconds until they’re soft enough to blend again.
Conclusion
Milkshakes are one of the most delicious and versatile drinks you can make at home. You don’t need a blender or a hand mixer to make them – you can use a food processor instead! It’s easy, fast, and fun to make milkshakes in a food processor.
All you need are some basic ingredients, such as milk, ice cream, and flavorings of your choice. You can also add some mix-ins and toppings to make your shake more interesting and tasty.
You can experiment with different flavors and combinations to create your own unique milkshakes. Whether you want a classic vanilla shake or something more exotic like a mint Oreo shake, your food processor can do it all. So pull out your machine and get shaking!
Leave a Reply